 by
by If you want to organize contacts in your iphone, then you need to create groups. If you do not know then we will tell you how you can easily create group in iphone. Creating a group on an iPhone is a great way to keep your contacts organized and easily communicate with a specific group of people.
Here are the steps to create a group on an iPhone:
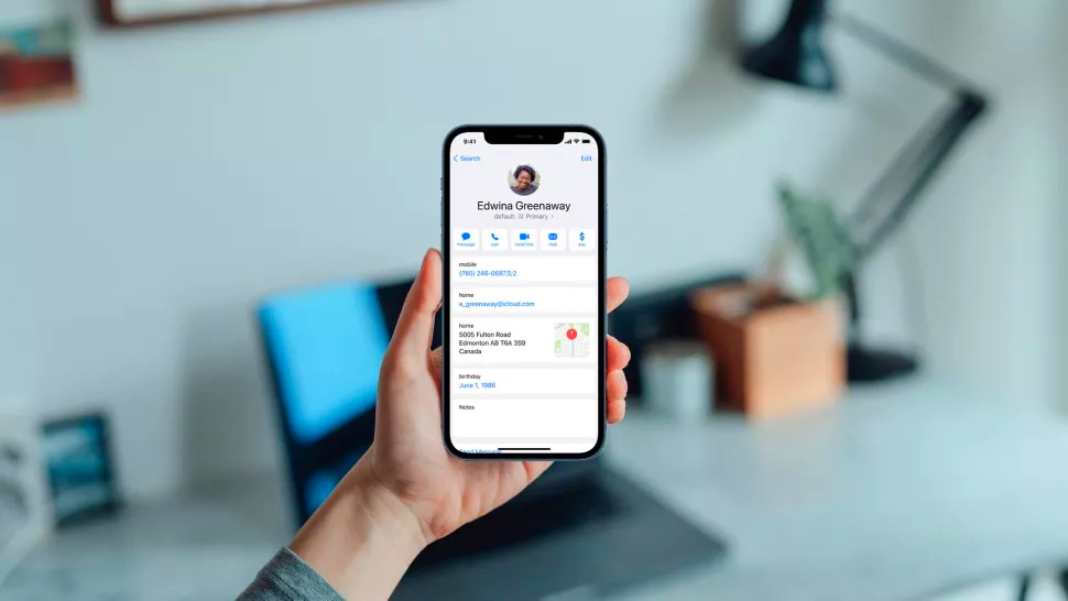
- Open the Contacts app on your iPhone.
- Tap the “+” icon in the top right corner to create a new contact.
- Enter a name for your group in the “First Name” field. For example, you could name the group “Family,” “Friends,” or “Work Colleagues.”
- Scroll down to the “Add to Existing Contact” section and tap “Create New Contact Group.”
- Tap “Add Contact” to start adding contacts to your new group.
- Select the contacts you want to add to your group by tapping on their names. You can add as many contacts as you want.
- Once you have added all the contacts you want to the group, tap “Done” in the top right corner.
Congratulations, you have successfully created a group on your iPhone! To send a message to your group, simply open the Messages app, create a new message, and enter the name of your group in the “To” field.
Can I create a group for texting on iPhone?
- Open the Messages app on your iPhone.
- Tap the “New Message” icon in the top right corner.
- In the “To” field, begin typing the name of the group you want to text. As you type, the group name should appear in the suggestions below. Tap on the group name to select it.
- Type your message in the text field and hit “Send” when you’re ready to send the message.
All the members of the group will receive the text message, and they will be able to respond to the group message as well. Group messaging is a great way to keep everyone on the same page and easily communicate with multiple people at once.
how to create a group on iphone 13
- Open the Contacts app on your iPhone 13.
- Tap the “+” icon in the top right corner of the screen.
- Enter a name for your group in the “First Name” field. You can also add a group photo if you’d like by tapping on the “Add Photo” option.
- Scroll down to the “Add to Existing Contact” section and tap “Create New Contact Group.”
- Tap “Add Contact” to start adding contacts to your new group.
- Select the contacts you want to add to your group by tapping on their names. You can add as many contacts as you want.
- Once you have added all the contacts you want to the group, tap “Done” in the top right corner.
That’s it! You have successfully created a group on your iPhone 13. To send a message to the group, simply open the Messages app, create a new message, and enter the name of your group in the “To” field.
Conclusion
In this post, we told you how you can create groups to organize contacts in iphone. Along with this, we told you how you can organize contacts in iphone 13.